
Hole Locations & Information
The following is a hole by hole explanation with some tips on how to get the best results the next time you play Spring Creek Country Club.
Click on a hole to see a description and photo.

Hole #1
A fairly easy starting hole where a good drive and fairway wood should set up a very good birdie opportunity. Make sure you stay left with your second shot to stay away from the large bunker guarding the right side of the green.

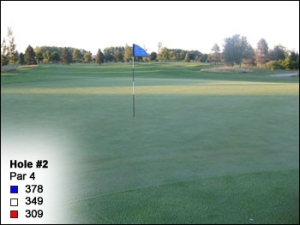
Hole #2
Dogleg left with a large bunker guarding the left side of the fairway. A good drive should leave you with a short iron shot to the largest green on the course.
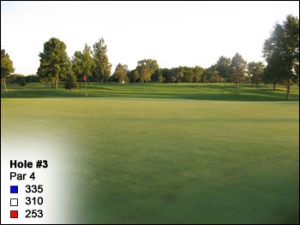
Hole #3
Easiest hole on the course. Short dogleg left where a good drive will leave you with an easy chip for your birdie. Don’t miss your drive to the left as it will make your chip shot to the green much harder.
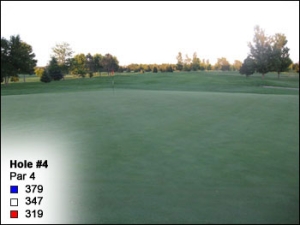
Hole #4
Straight away hole where a good drive leaves you with a mid to short iron shot to the green.
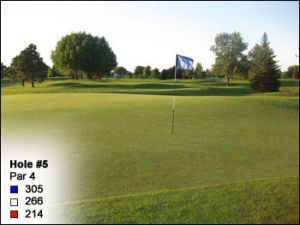
Hole #5
Good risk reward hole that can be an easy birdie hole or a quick double bogey if you miss your drive to the right.
Hole #6
Short par 3 that requires a short to mid iron tee shot. After this hole, the course gets progressively more difficult; hope you are a couple under par at this point.

Hole #7
Hit your drive through a chute of trees to a landing area that requires you to hit a medium to long iron to the green. This is one of the harder holes on the course, so, par is a good score.

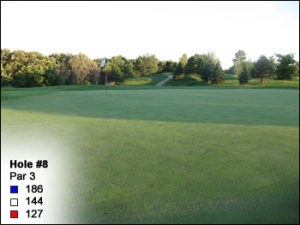
Hole #8
Picturesque par 3 where you will be hitting a medium to long iron to this well bunkered green. This hole often plays longer than it appears.
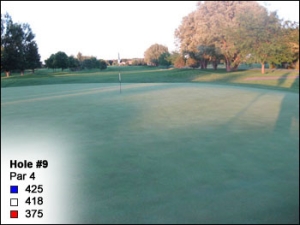
Hole #9
Longest par 4 on the golf course. Put your drive between the fairway bunkers and it will leave you a middle iron to the largest green on the course. Par is a good score here.
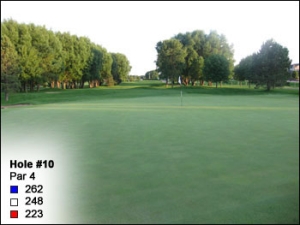
Hole #10
Short, well bunkered par 4, where a good drive will setup you up for another birdie opportunity. Don’t miss your drive to the left as a double bogey is waiting for you there.
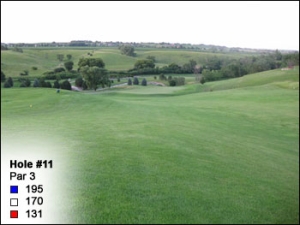
Hole #11
Most scenic hole on the course. A dramatic drop in elevation will make your club selection very difficult.
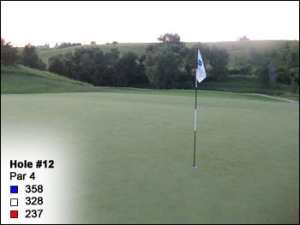
Hole #12
The most challenging hole on the course. You need to hit your drive into a tight landing area then a short iron to a very severe green. Par is an excellent score here.
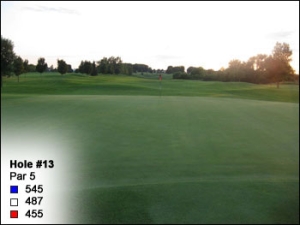
Hole #13
Beautiful par 5 where you want to keep your drive to the right and short of the fairway bunker. Two woods and a wedge should give you a very good opportunity at a par.
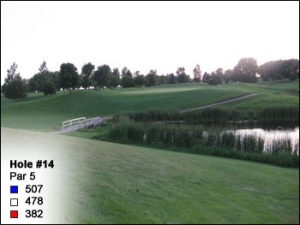
Hole #14
Another par 5 where a good drive gives you an opportunity to either lay up or go for the green in two. The second shot is all carry so make sure you have enough club to carry to the green.
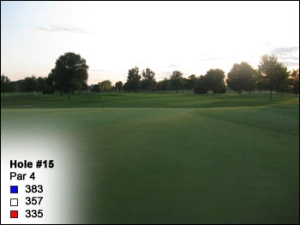
Hole #15
Straight forward par 4 where a drive and medium iron should give you a solid par.
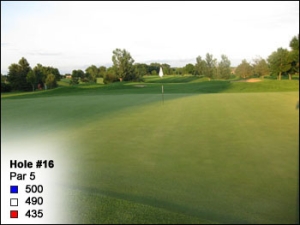
Hole #16
Par 5 where you hit your drive thru a chute of trees; your second shot you can go for the green or lay up short of the fairway bunkers. A great chance for a birdie.
Hole #17
A fun hole where the pond on the right will get your attention if you push or slice your tee shot.

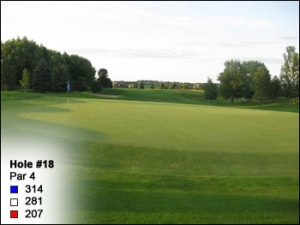
Hole #18
Short well bunkered finishing hole that will give you a great opportunity at birdie with a good drive and wedge to the green.
Scorecard
